Example Asbestos Removal Projects in Bothell

Below are six Bothell-area jobs, start to finish. You will see which samples came back positive, how the crew closes off the space, the number of working days and a rough total. Most Bothell homes are newer than 1980, but older houses, additions and shop buildings still turn up asbestos, so every example begins with a lab test.

These are examples, not past jobs, clients or addresses. We wrote them around the house ages found in Bothell, Kenmore and Brier and the way each type of job is normally run, priced with this year’s ranges.

Asbestos survey after a pipe leak in a split-level entry

Example project
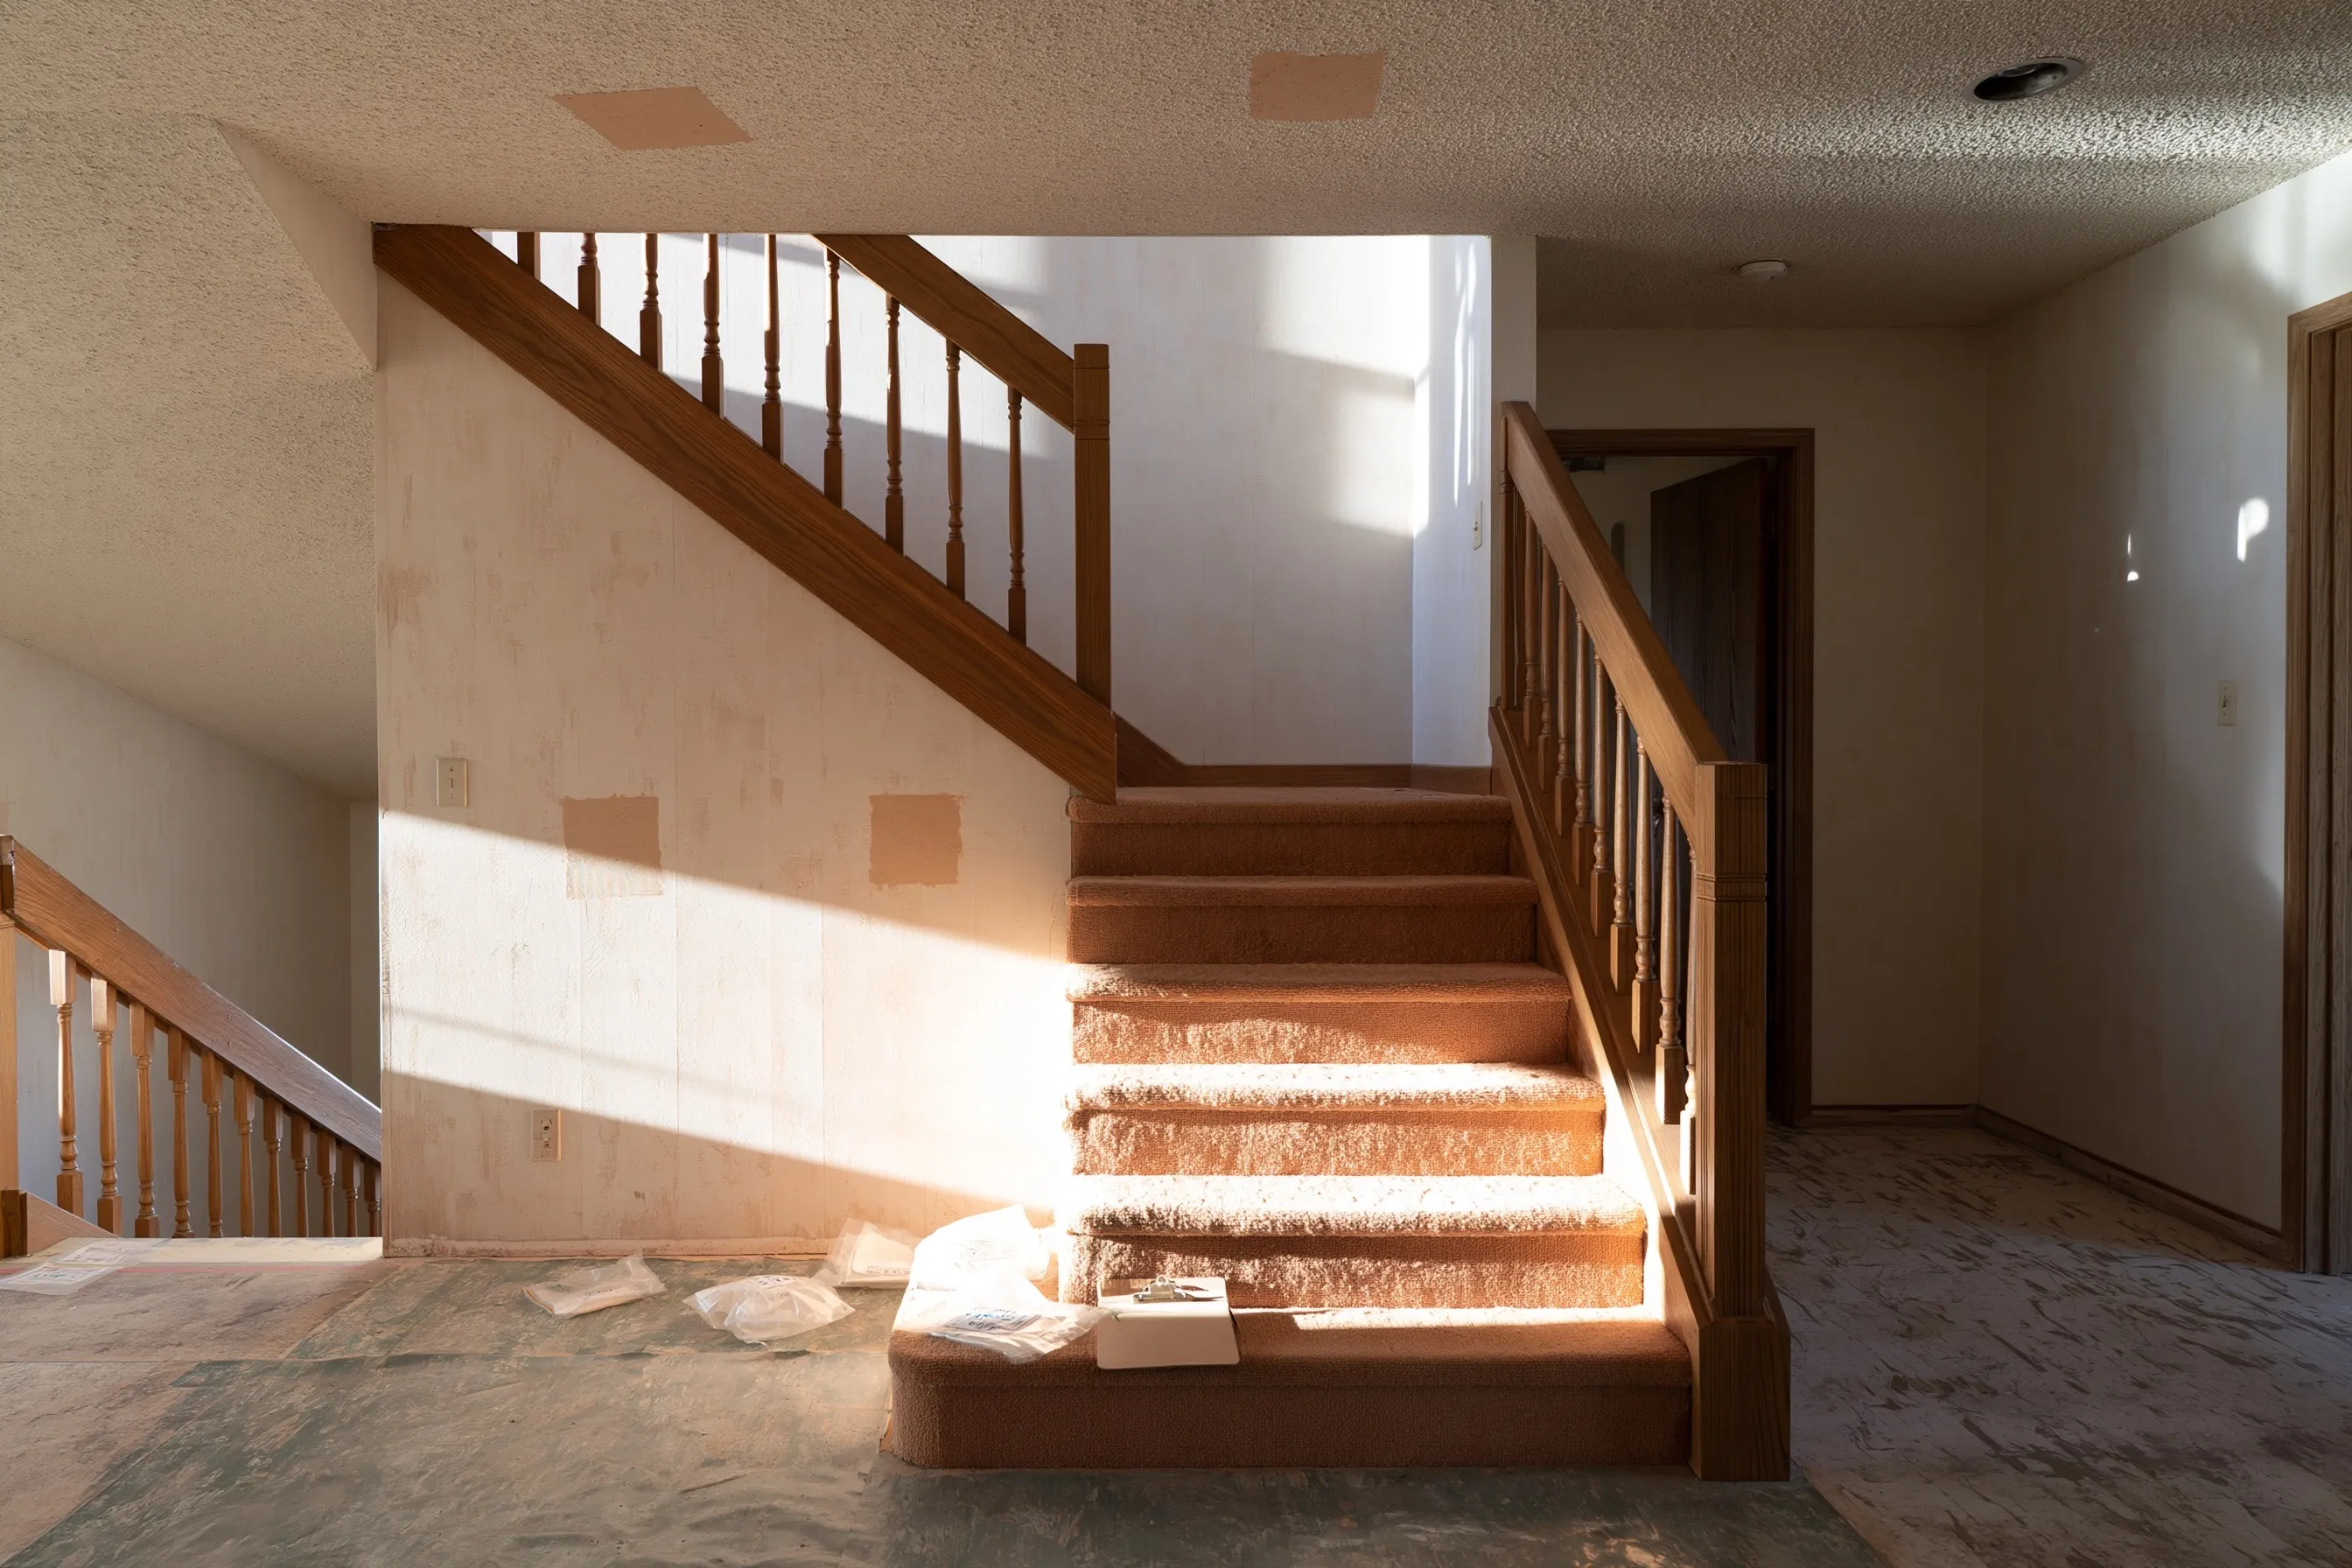
Split-level entry with small squares of tape marking sample spots on the ceiling and walls, sample bags on the bottom step
Home
1970s split-level house in Bothell
Original request
Repair the entry and the lower family room after a pipe in the wall leaked
Testing
Eleven samples from the ceiling texture, the wet wall, the entry floor and the family room floor layers
Found
Asbestos in the joint compound of the wet wall only
Clear
Ceiling texture, entry floor and family room floor
Timeline
Sampled the afternoon of the leak, with the report back by the end of the week
Estimated survey cost
$700

Scope of work

One visit to sample every material the restoration crew will cut or pull up, labeled bags to an accredited lab, and a written report with a sketch of where each sample came from. Taking out the wet wall and rebuilding the entry are quoted once the report is in.

Project overview

In this example, a pipe inside the entry wall of a 1970s split-level has leaked, and the restoration crew needs to cut out wet drywall and pull up flooring. Before they do, an inspector takes eleven samples from the ceiling, the wet wall and the floors in the entry and the family room below.

Only the joint compound on the wet wall comes back positive. That one wall comes out under plastic, and the crew can treat the ceiling and both floors like any other repair. The report goes to the insurer and the repair contractor.

The goal

The goal is a clear answer for each material the repair touches, so only the one positive wall needs special handling.

Process

  1. Day one Water shut off and the area dried; the inspector samples the same afternoon.
  2. Days two to four Results for all eleven samples, each one marked on a sketch of the entry and family room.
  3. Next The wet wall is scoped for removal under plastic; the rest goes to the repair crew.
  4. Then Drywall, flooring and paint go back once the wall is out.

Planning right

  • Run fans and dehumidifiers, but do not cut wet drywall before it is tested.
  • Ask the inspector to sample each layer of the floor, not only the top one.
  • Give the report to everyone who will open a wall or lift a floor.
  • Water that ran down to a lower ceiling means that ceiling belongs in the survey too.

Get a free quoteMore about asbestos removal before a remodel or tear-down
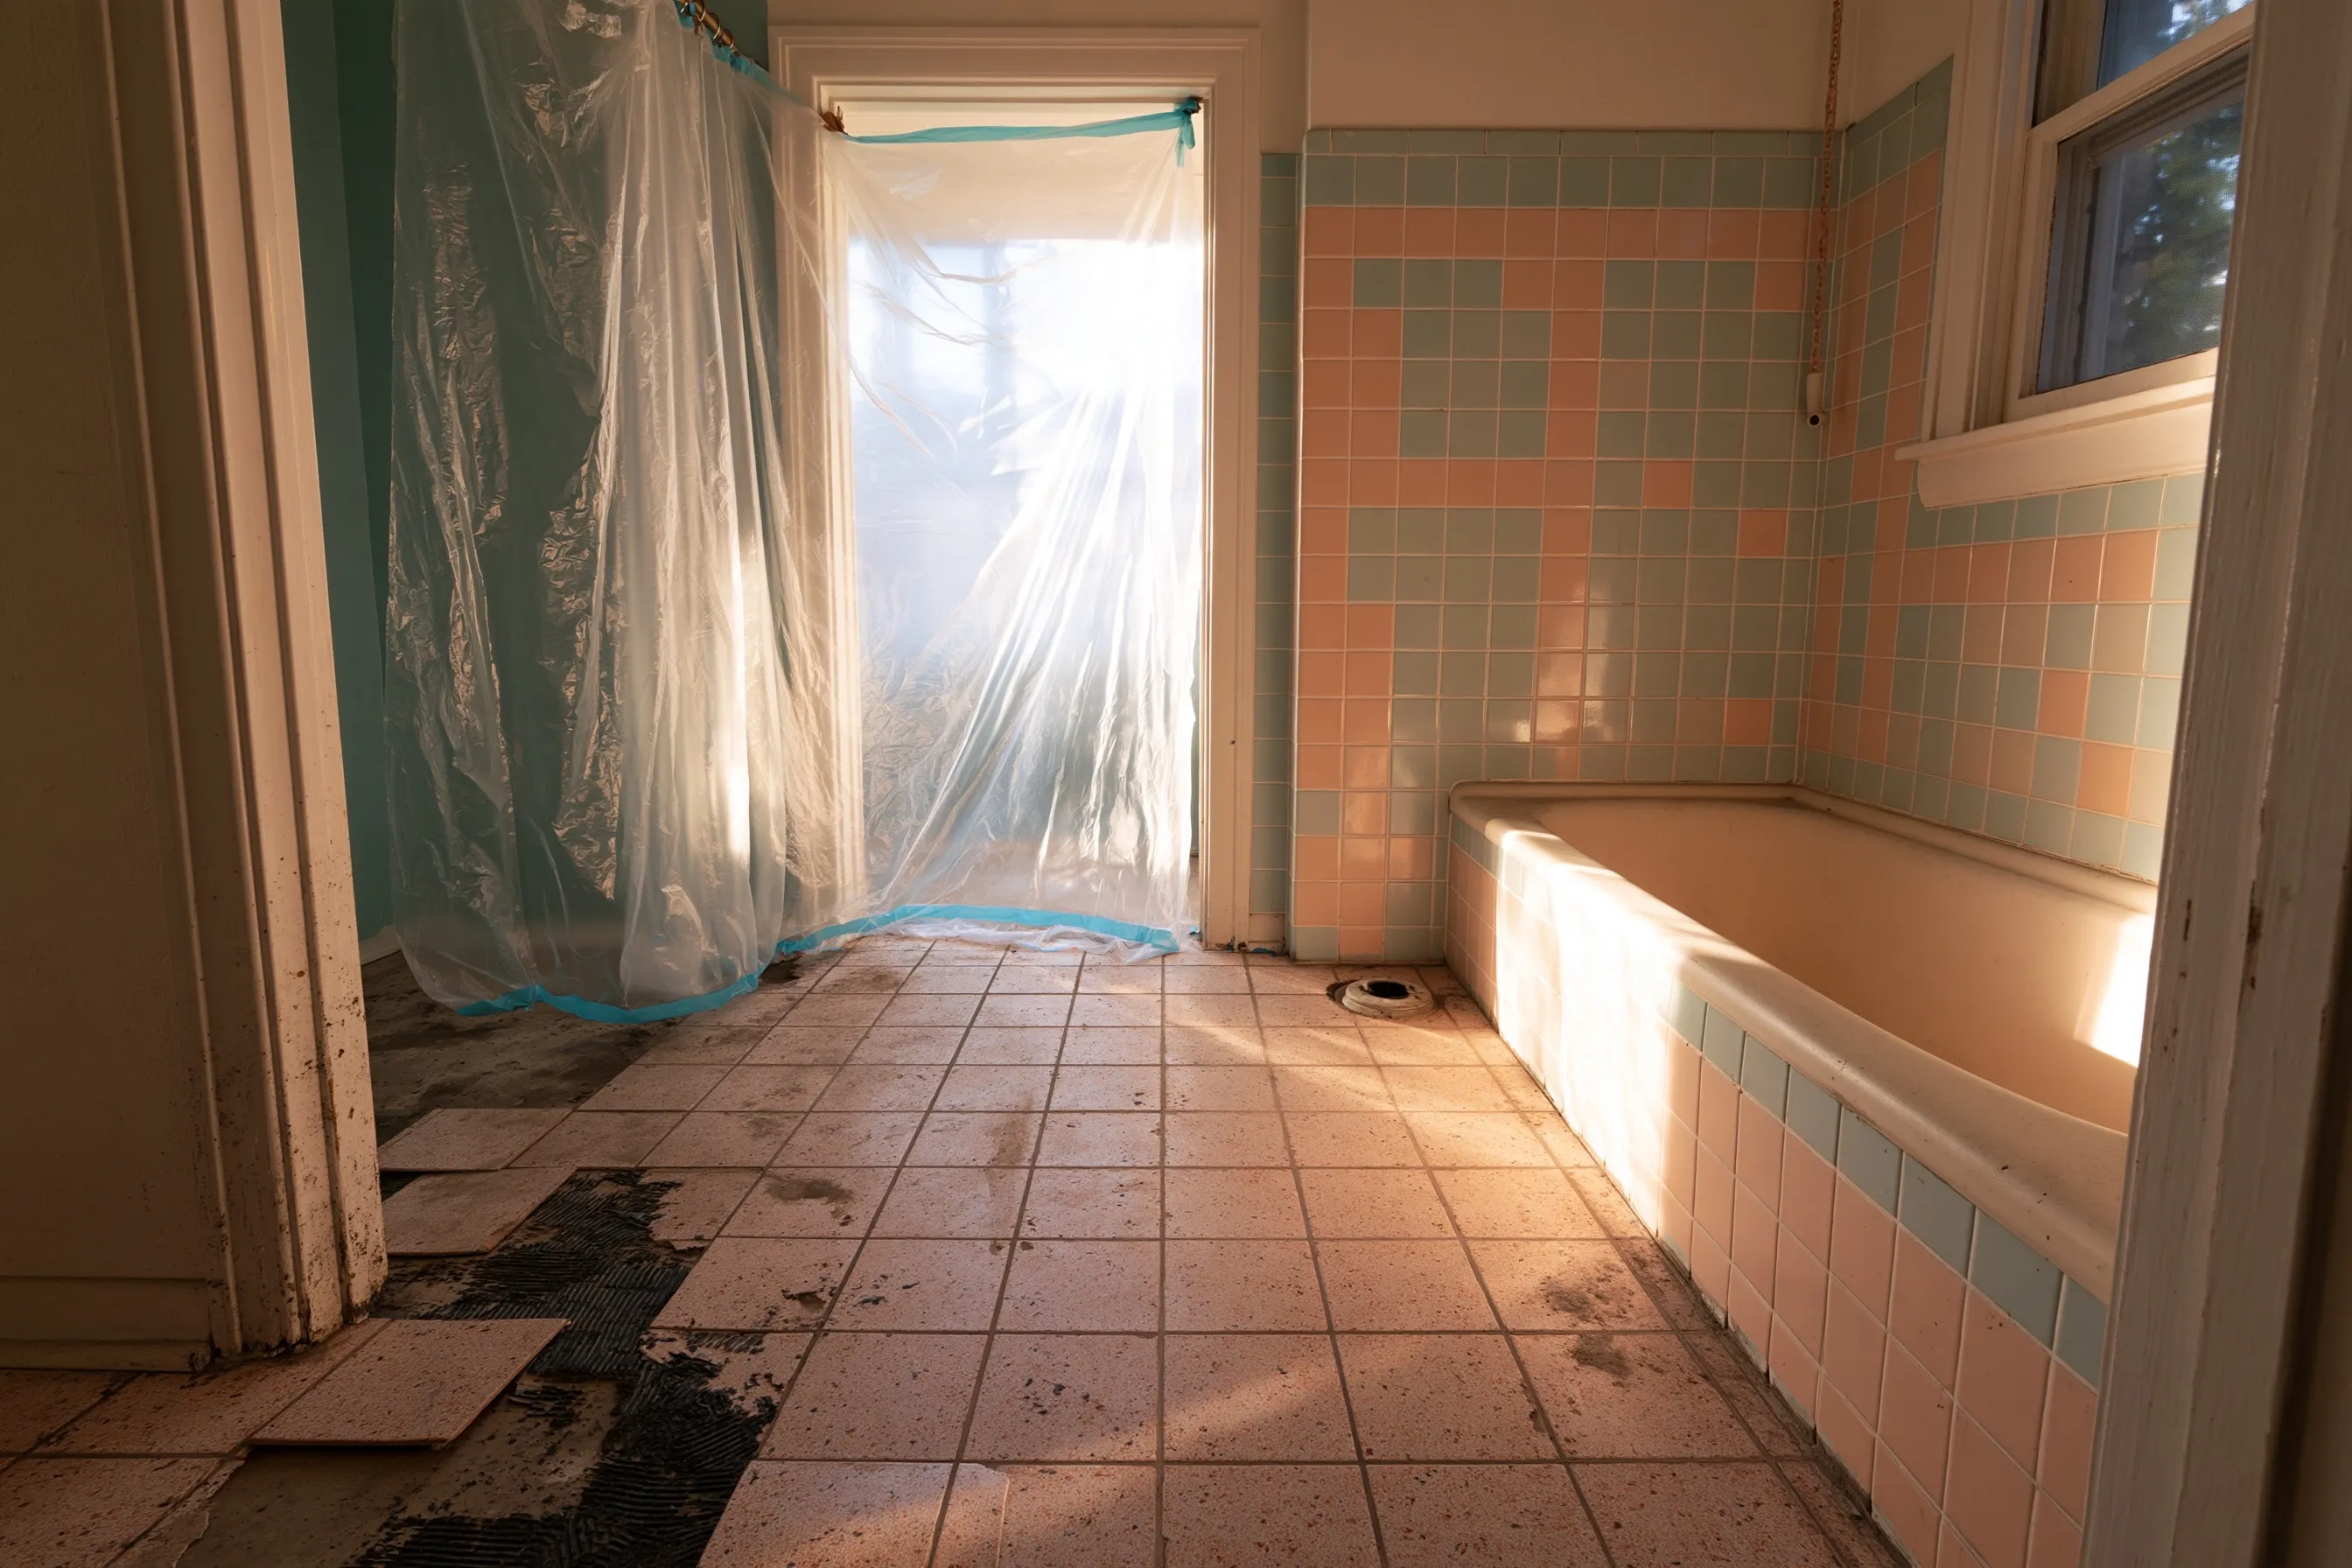
Old bathroom floor lifted whole for a curbless shower

Example project

Bathroom with no toilet, square vinyl tiles pried up in one corner over black glue, and plastic taped across the doorway
Home
1960s single-story house in Kenmore
Original request
A curbless walk-in shower, which needs the floor lowered between the joists
Testing
One square of the 9-inch tile and a scrape of the glue under it, both positive
Room
Bathroom, about 60 sq ft of floor, toilet out first
Work
Tile, glue and the plywood under them lifted together in whole sheets, not scraped
Agency notice
None, since everything stays whole and wet
Timeline
A single day, with the carpenter lowering the floor the morning after
Estimated cost
$2,500

Scope of work

Plastic across the bathroom door, the tile and glue kept wet, the plywood pried up in whole sheets with the old floor still on it and wrapped in plastic, sealed bags for the loose pieces, disposal and a HEPA pass over the joists. The plumber, the carpenter and the tile setter each quote their own part.

Project overview

In this example, the owners of a 1960s Kenmore house want a walk-in shower with no curb. The floor has to drop between the joists, so the plywood under the old 9-inch tile has to come out, not only the tile. The tile and the black adhesive both test positive.

Scraping glue off plywood that is about to be thrown away is wasted work, so the plywood goes out with the tile and glue still stuck to it, wet and in whole sheets. Nothing is cut, ground or broken, so the clean air agency gets no paperwork, and the carpenter finds bare joists.

The goal

The goal is bare joists ready for a lowered floor and a curbless shower, with the old tile, glue and plywood out in a single working day.

Process

  1. Before work One tile and one adhesive sample to the lab; the plumber takes out the toilet.
  2. Morning Plastic at the door, the floor soaked, the plywood sheets pried up whole.
  3. Afternoon Sheets wrapped and bagged, loose tile picked up, joists vacuumed and wiped twice.
  4. Next day The carpenter lowers the floor and the tile setter follows.

Planning right

  • Do not saw through the old floor to cut it out. Cutting makes dust, so lift whole sheets.
  • Ask whether the price includes the plywood sheets as waste. They count as asbestos waste here.
  • Plan the shower drain and the new floor height with the plumber before the floor comes up.
  • Sanding or grinding the old tile to lower it is never an option.

Get a free quoteMore about asbestos floor tile and mastic removal

Flaking popcorn ceiling over a tall stairwell

Example project

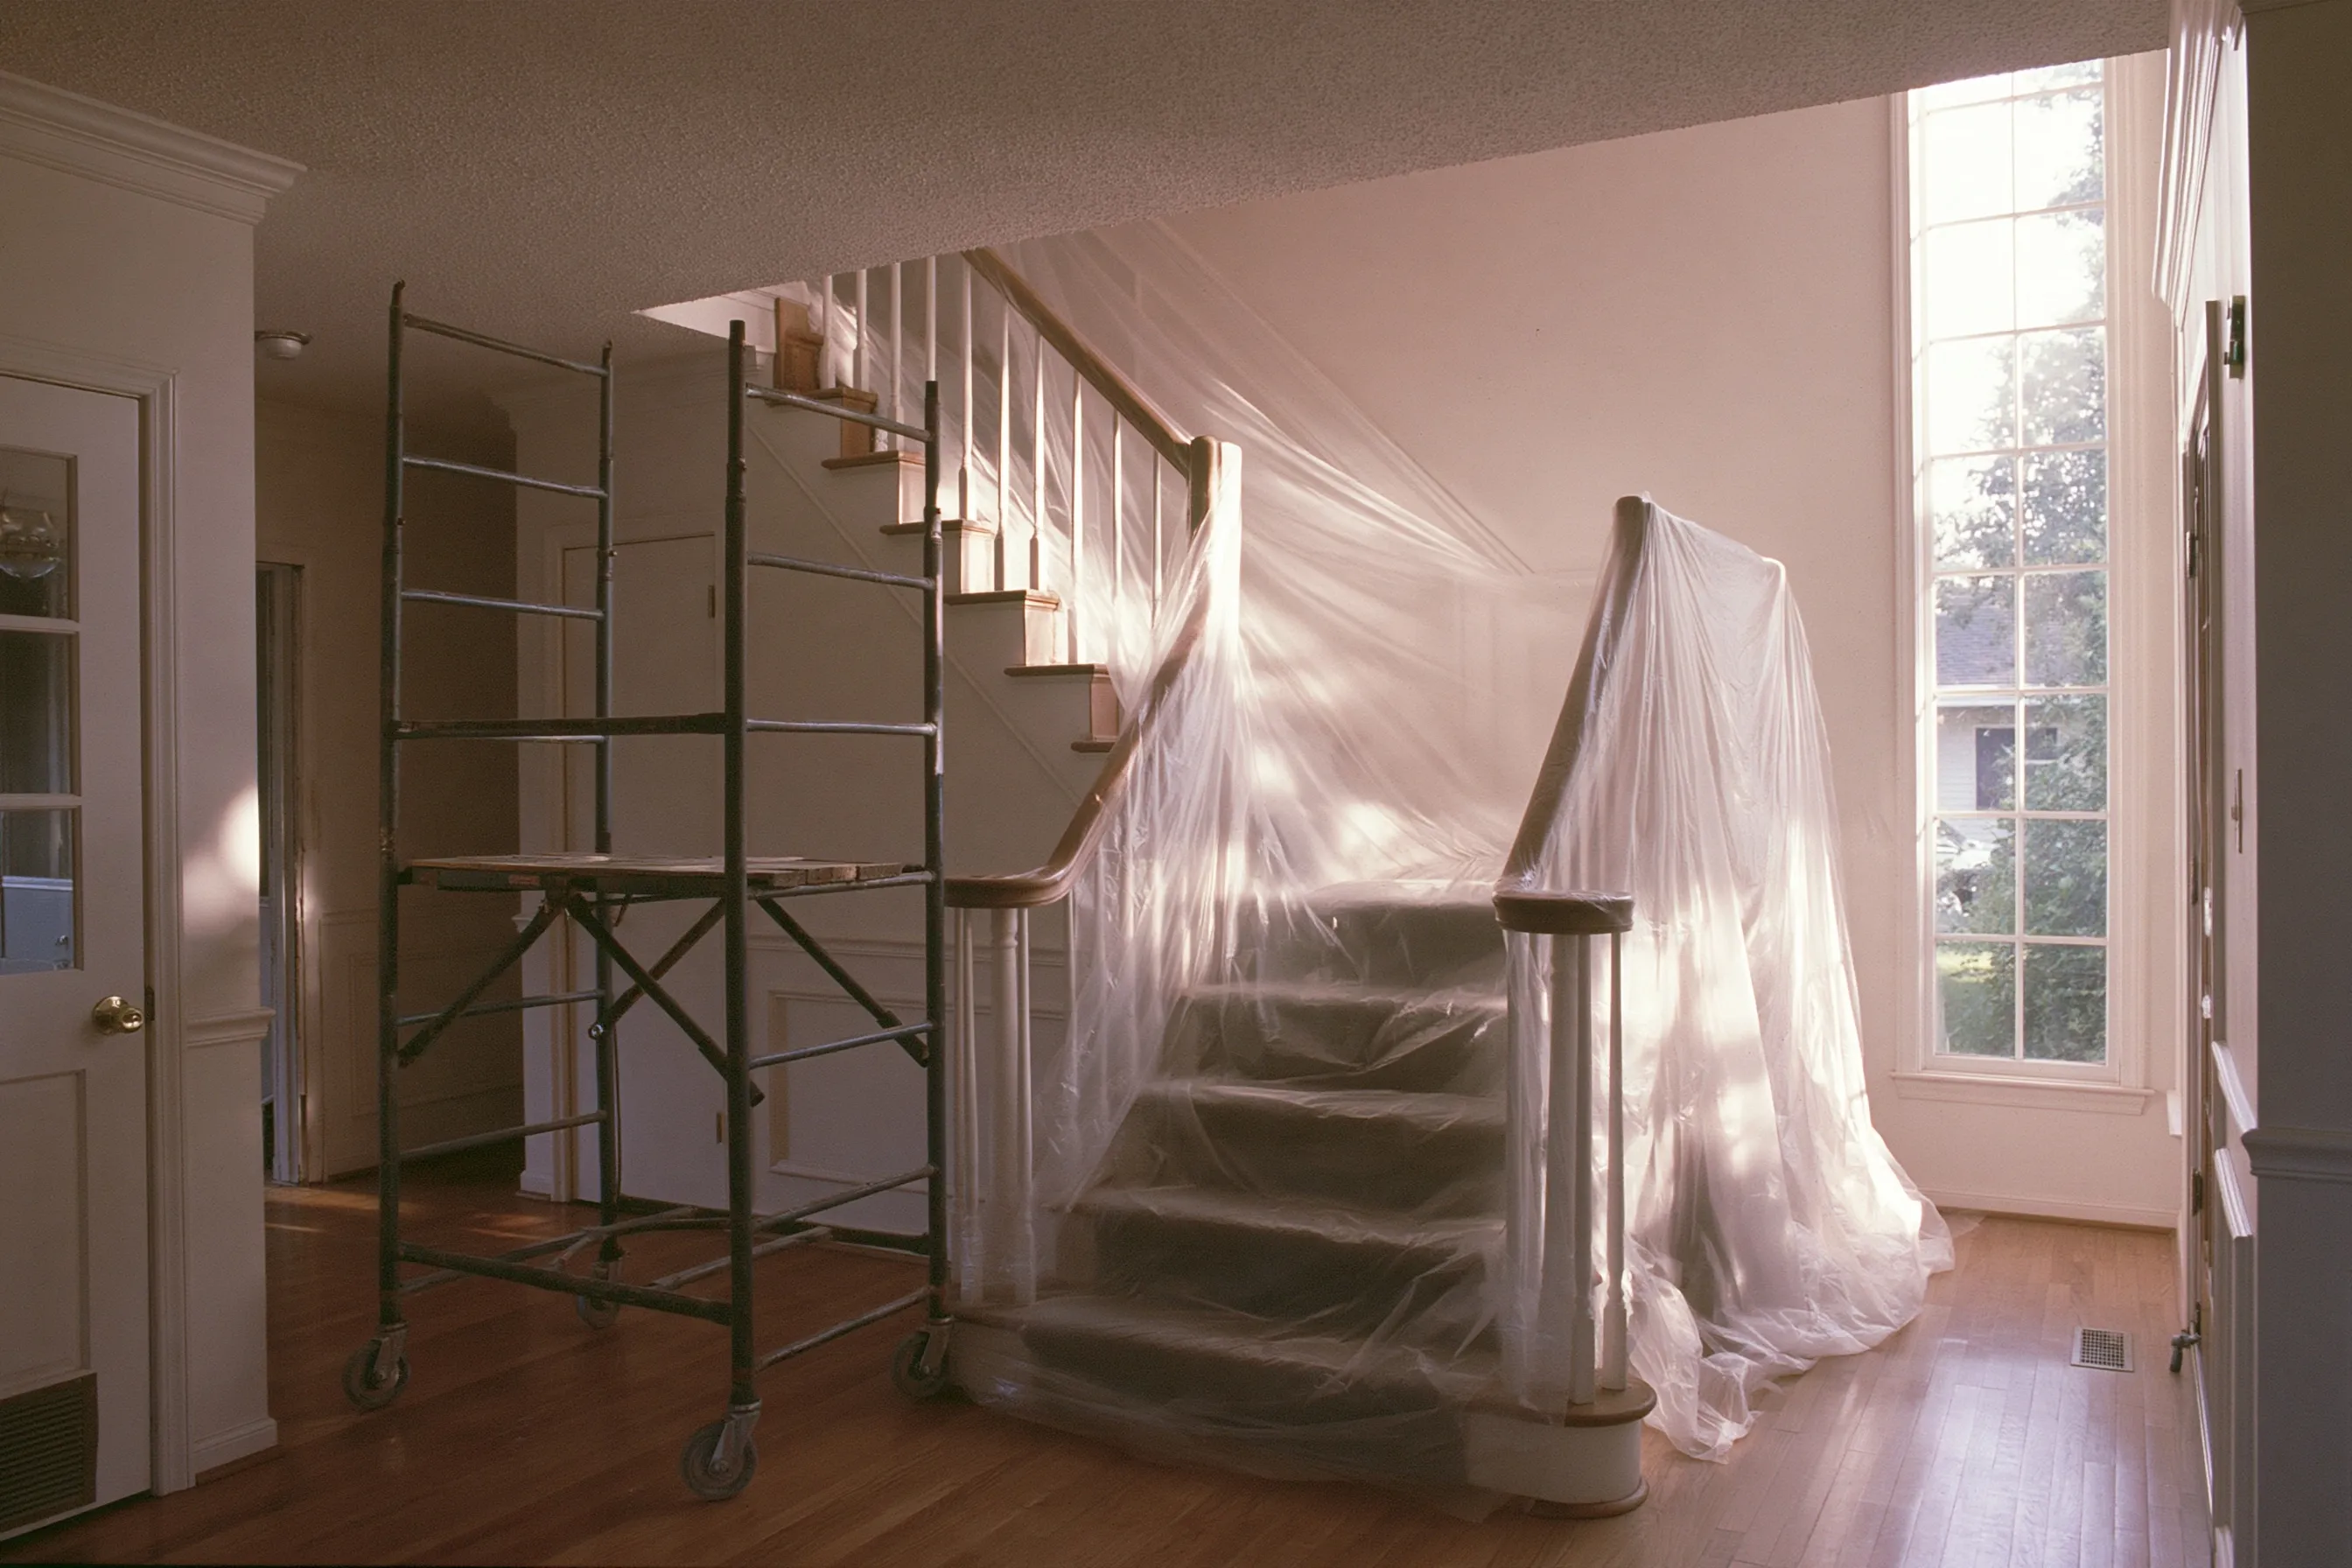
High textured ceiling above a staircase, a rolling scaffold at the foot of the stairs and the steps and rail wrapped in plastic
Home
Late-1970s two-story house in Bothell
Original request
Stop the ceiling texture over the stairs from flaking onto the steps
Testing
A flake picked up from a step and a cut sample from the ceiling, both positive
Area
Stairwell and upper landing, about 200 sq ft of ceiling, 17 ft at the highest point
Setup
Every step and the rail under plastic, a rolling scaffold beside the stairs
Timeline
Clean air agency notice, then a two-day job
Estimated cost
$4,000

Scope of work

Stairs, rails and walls wrapped in plastic, the rolling scaffold moved along the hall beside the stairs, the texture misted and scraped into sealed bags, each tread vacuumed and wiped, and disposal. Skim coat and paint come from the drywall finisher afterwards.

Project overview

In this example, the textured ceiling over the stairwell of a late-1970s house has started to flake, and small pieces land on the stairs. A loose flake and a sample from the ceiling both test positive, so the owners decide to have the whole stairwell ceiling taken off.

The ceiling is up to 17 ft high, so the crew works from a rolling scaffold with the stairs covered in plastic. Two hundred square feet is far past the 48 sq ft mark, so Puget Sound Clean Air Agency hears about it before anyone climbs the scaffold.

The goal

The goal is a bare stairwell ceiling ready for a skim coat, with no more flakes on the stairs.

Process

  1. Before work Loose pieces picked up with a damp cloth, samples to the lab, notice filed.
  2. Day one Stairs and walls covered, scaffold set up, the texture misted and scraped.
  3. Day two The corners over the landing finished, bags sealed on the scaffold, every tread wiped by hand.
  4. Then The drywall finisher skims the ceiling and the painter follows.

Planning right

  • A damp paper towel is the way to pick up a loose flake; brooms and home vacuums spread it.
  • Use another way up and down while the stairs are covered, if the house has one.
  • Ask where the scaffold will stand on the hall floor beside the stairs, and how its feet are padded.
  • Tell us about light fixtures on long cords. They come down before the work.

Get a free quoteMore about asbestos popcorn ceiling removal

Vermiculite out of the attic before new insulation

Example project

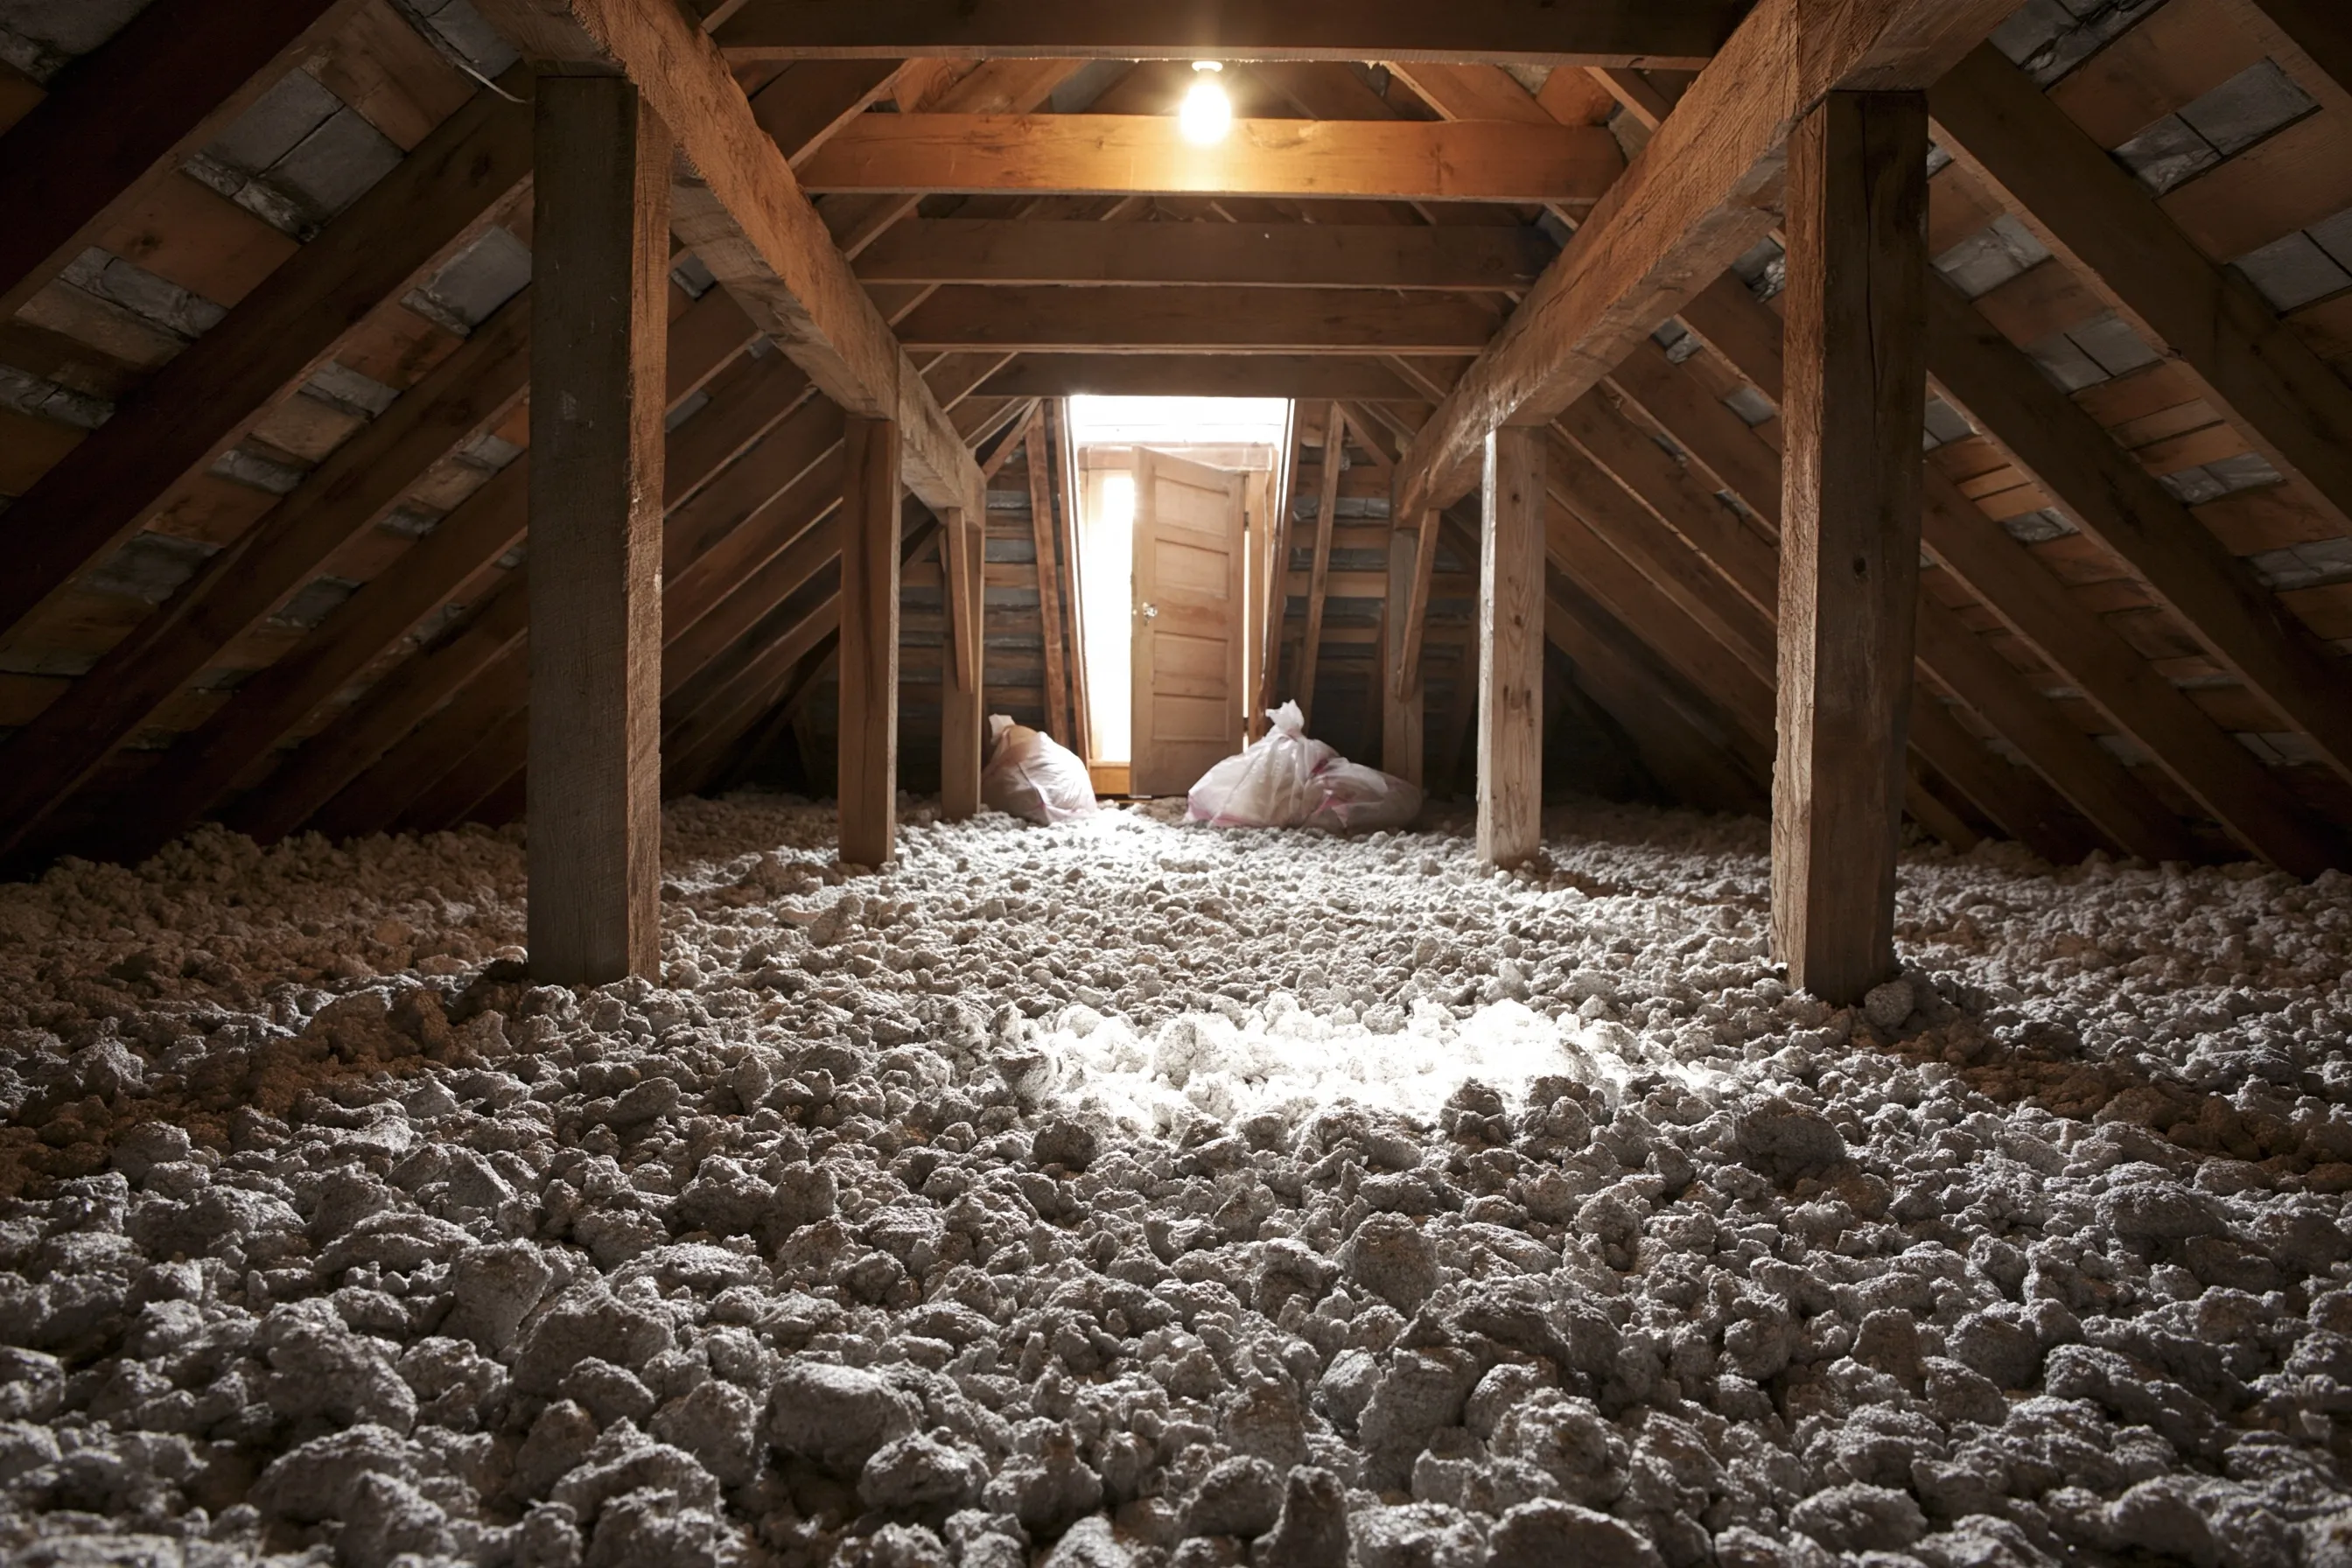
Attic under a steep roof with board sheathing, pebbly gray loose fill between the framing and daylight through a small door at the gable end
Home
1940s house with a steep roof in Bothell, about 900 sq ft of attic floor
Original request
Air sealing and new insulation in the attic
Testing
A cup of the pebbly fill, taken at the hatch, tests positive
Material
Vermiculite about 4 inches deep across the attic floor
Agency notice
Puget Sound Clean Air Agency told before the attic is opened up
Timeline
Four working days in the attic; the air sealers come the following week
Estimated cost
$12,000

Scope of work

The hatch and ceiling openings sealed from below, a filtered air unit on the attic, the pebbly fill pulled out through a HEPA vacuum hose into sealed bags, each joist bay brushed, disposal and an air test. The air sealing and new insulation are a separate contract.

Project overview

In this example, the owners of a 1940s house want the attic air sealed and insulated. The insulation crew finds loose gray-brown fill between the joists and stops. A lab test shows asbestos in the vermiculite, so it has to come out before anyone works in the attic.

The ceilings below are protected and the attic is kept under negative air while the fill is vacuumed out and the bays are brushed clean. After the air test, the insulation crew seals the gaps and blows in new insulation.

The goal

The goal is a swept, empty attic and a passed air test, so the insulation crew can seal and fill it right away.

Process

  1. Before work Sample to the lab; notice filed; ceiling lights and the hatch sealed from below.
  2. Day one Filtered air unit set up and the vacuum hose run through a window.
  3. Days two and three Vermiculite vacuumed out bay by bay and bagged.
  4. Day four Joists brushed and vacuumed, then an air test before the attic is opened.

Planning right

  • Keep the attic hatch shut and do not store things up there until the fill is tested.
  • Ceiling lights and fans can leak dust from the attic. They are sealed during the work.
  • Ask whether the price includes cleaning the tops of the wall plates. Fill collects there.
  • Do not stack boxes on the attic floor. Vermiculite moves through gaps.

Get a free quoteMore about asbestos insulation removal

Cement shingles off one wall to repair a leaking window

Example project

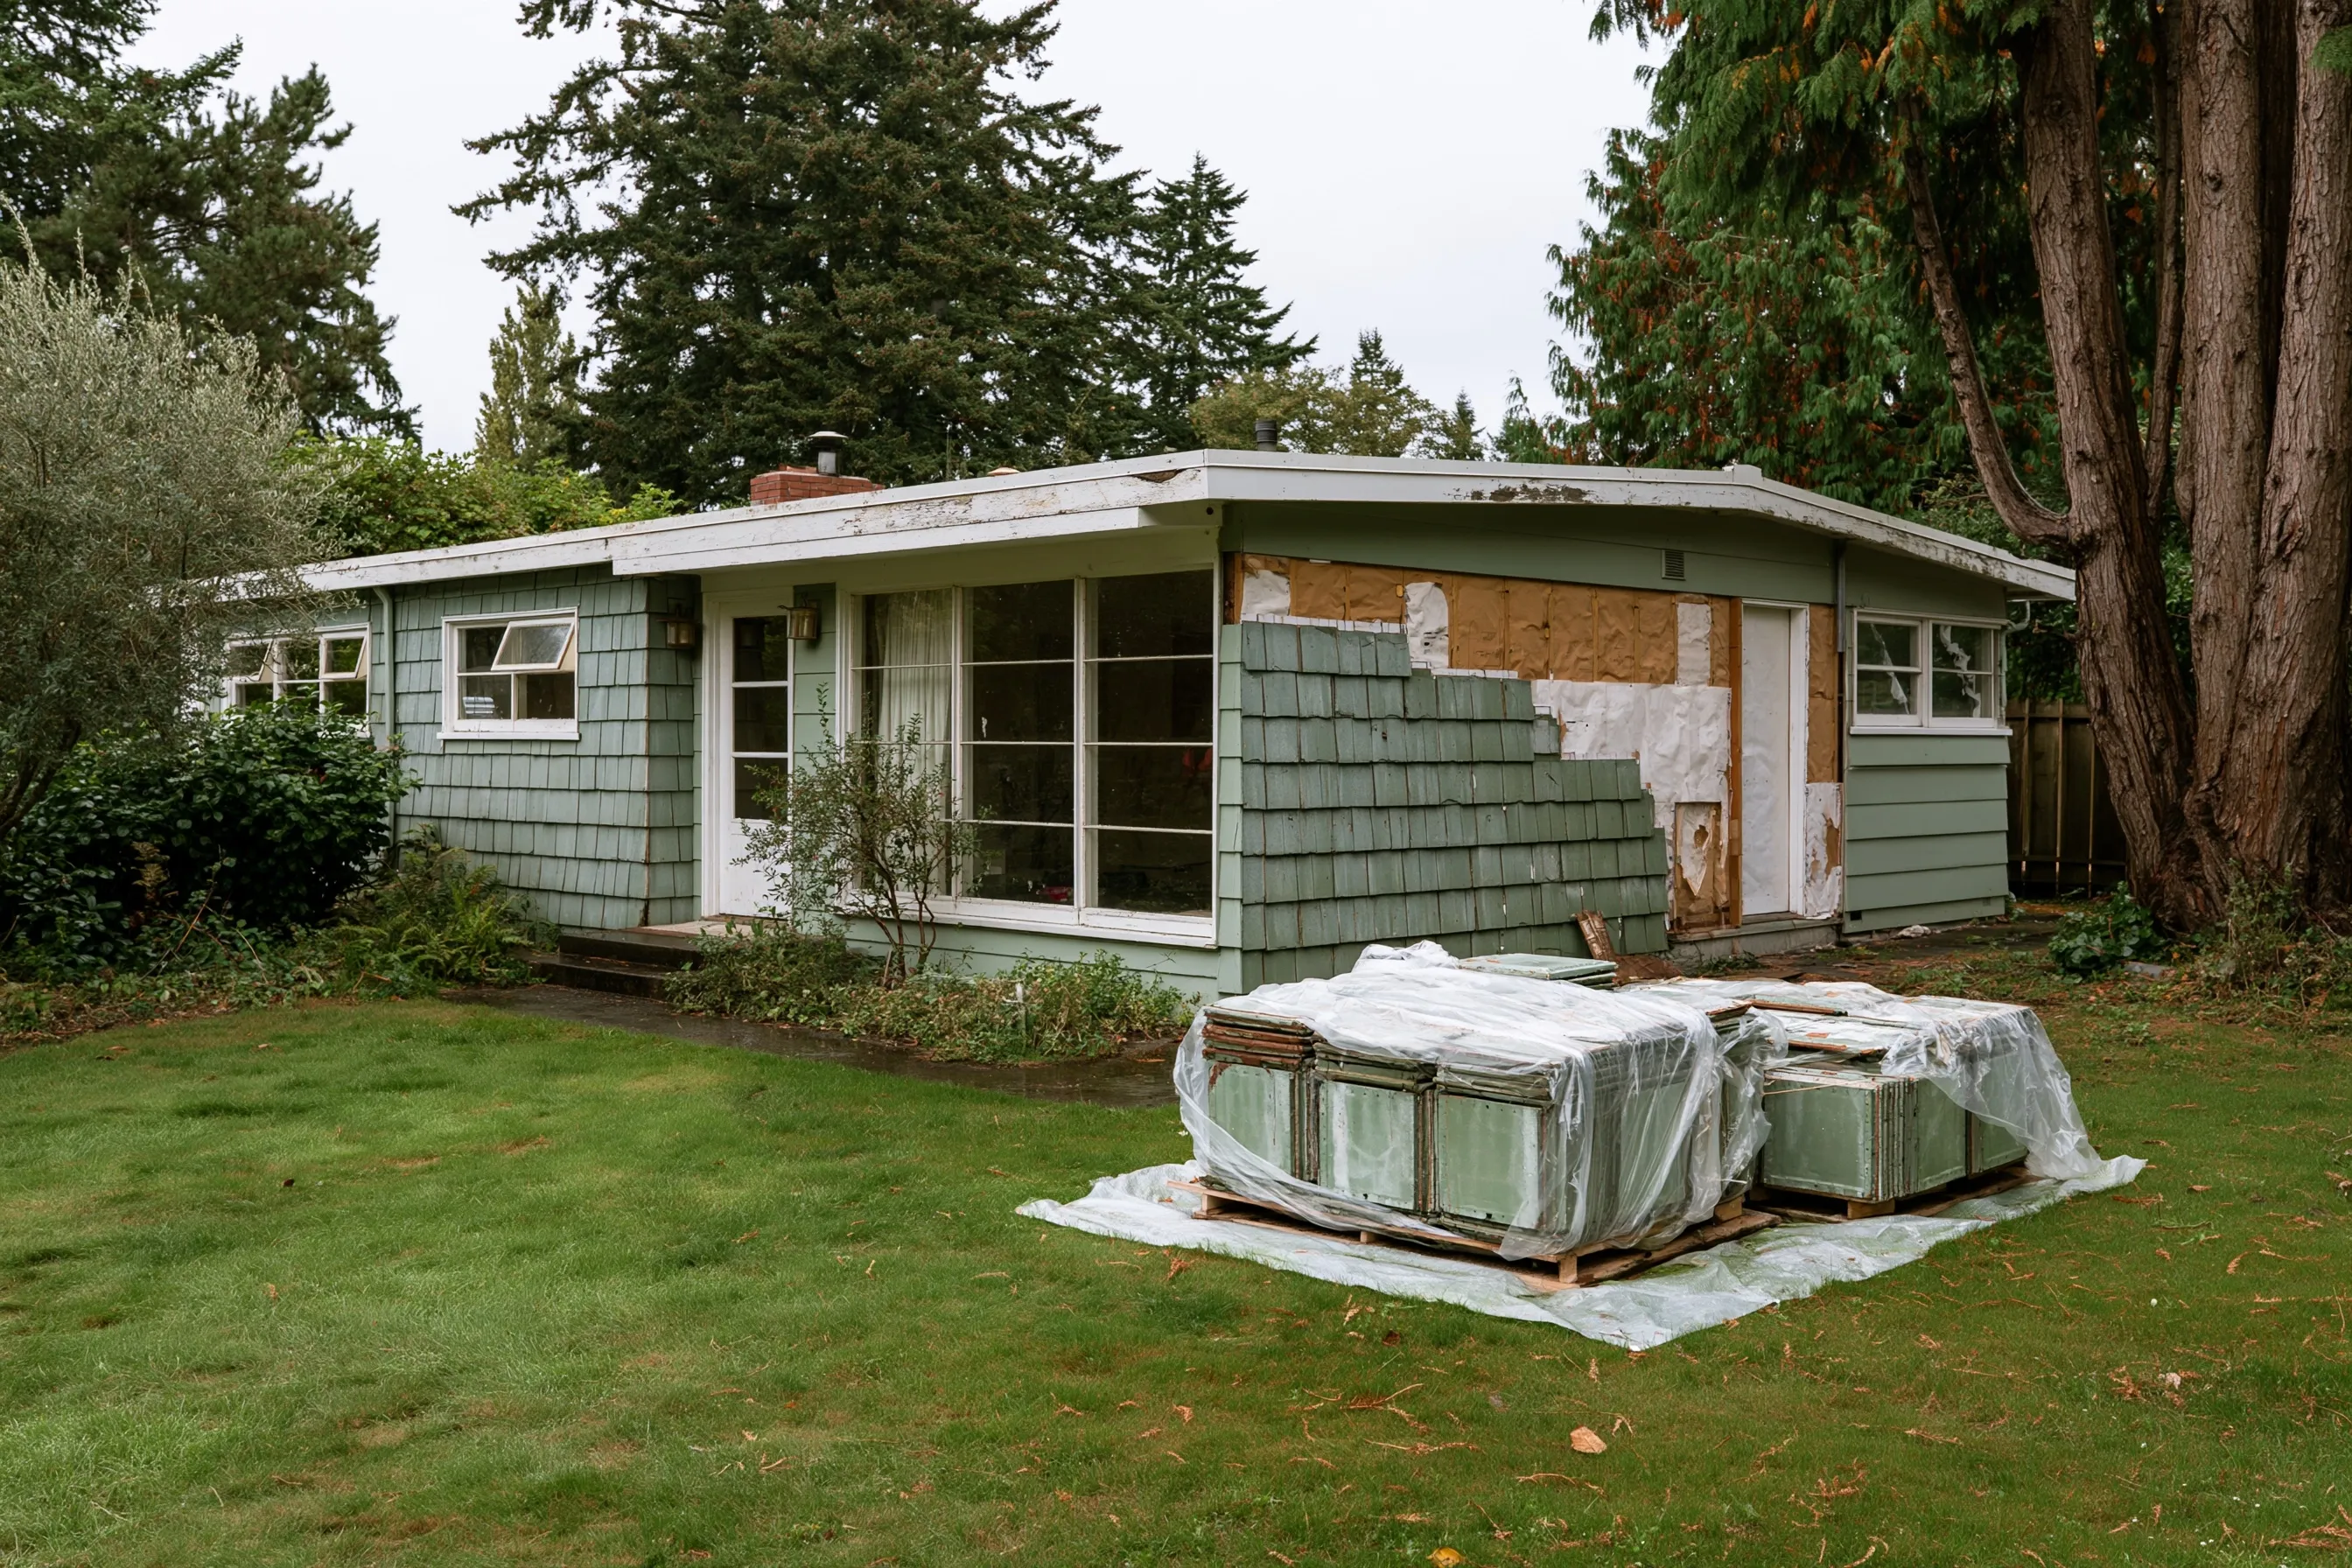
Rambler with gray-green cement shingles, one side half stripped to the sheathing and the removed shingles stacked on plastic
Home
1950s rambler in Brier with gray-green cement shingles
Original request
Fix a leaking window and the soft wall below it
Testing
A shingle from below the leaking window, positive
Area
About 300 sq ft, the whole wall with the leaking window
Agency notice
Filed before the first shingle comes off
Timeline
Two days on that one wall; the carpenter opens it up on day three
Estimated cost
$4,500

Scope of work

Plastic spread along the foundation, each shingle sprayed and lifted off after its nails are pulled, stacks wrapped and taken to an approved site, and the beds combed by hand. Sheathing, flashing, the window and new siding go to the carpenter.

Project overview

In this example, a window on a 1950s rambler in Brier has leaked for years, and the wall under it feels soft. The carpenter needs the siding off the whole wall to repair the sheathing and flash the window properly. One shingle is tested, and it has asbestos in it.

Puget Sound Clean Air Agency classes cement shingles as friable, which means paperwork before the job even for a single wall. The shingles are wetted and lifted off whole, then wrapped on plastic. The other walls are left alone.

The goal

The goal is one bare wall the carpenter can rebuild around the window, with no shingle broken and none left in the beds.

Process

  1. Before work Shingle sample to the lab; notice filed; plants along the wall tied back.
  2. Day one Sheet plastic along the wall, the top courses sprayed and unnailed first.
  3. Day two The bottom courses off, the stacks wrapped for the haul, every bit of the bed raked through.
  4. Then The carpenter repairs the sheathing, flashes the window and re-sides the wall.

Planning right

  • Do not pry cement shingles off yourself to look behind them. Broken pieces are what make dust.
  • Ask the carpenter to match the new siding to the other walls before the old shingles come off.
  • A wet wall should be left open to dry for a few days before it is closed up.
  • The other walls can stay as they are while the shingles are intact.

Get a free quoteMore about asbestos siding and roofing removal

Survey of an empty shop unit before a cafe build-out

Example project

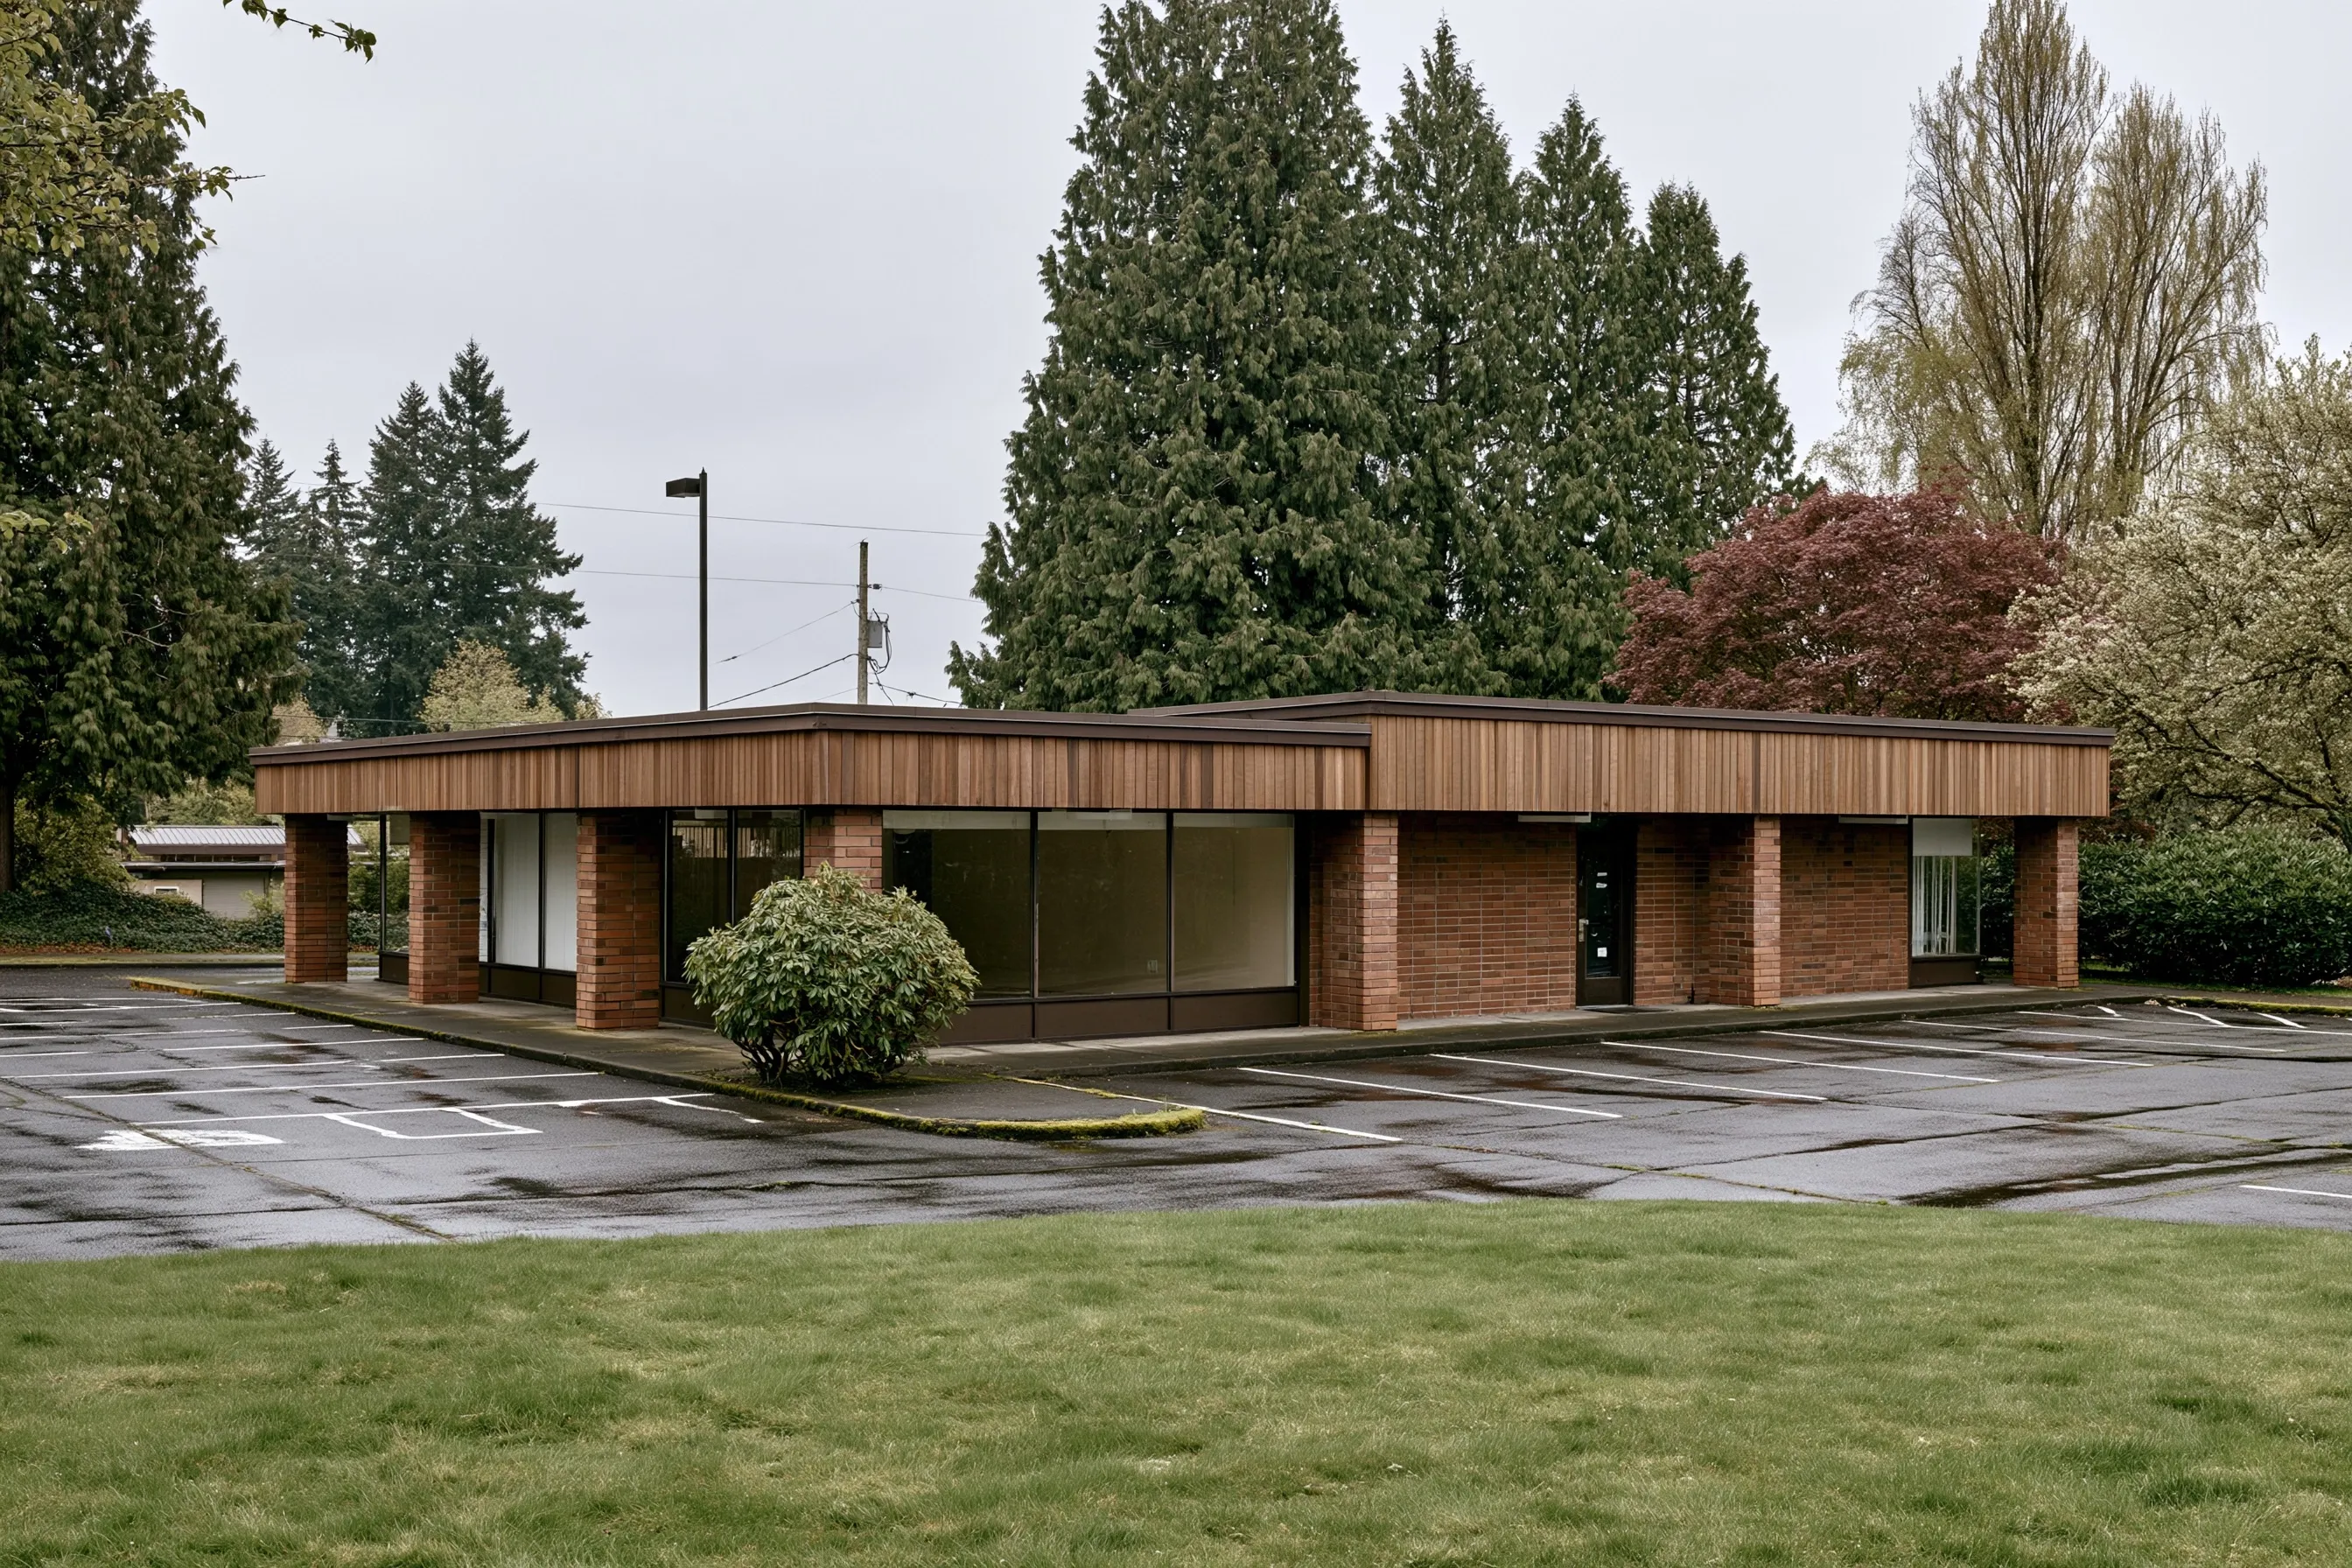
Row of 1960s shops in brick and wood under a gray sky, with one storefront empty and its windows bare
Building
1960s single-story brick and wood retail building in Bothell
Original request
New kitchen, counter, restrooms and a vent hood for a cafe in an empty unit
Testing
Floors, walls, ceiling and storefront sampled, roughly 25 spots in all
Found
Asbestos in the floor tile under the carpet and in the old restroom wall compound
Clear
Ceiling tiles, the newer drywall and the storefront caulk
Timeline
A morning on site, then the cafe has its answers about five business days later
Estimated survey cost
$2,400

Scope of work

A walk-through with the cafe plans, samples from every layer the build-out will touch, lab analysis and a written report with a sample map for the landlord and the tenant. What it costs to take out the positives depends on the findings, so that comes next.

Project overview

In this example, a cafe is taking an empty unit in a 1960s retail building. The build-out will pull up floors, open walls for plumbing and cut a new hole in the ceiling for the vent hood. A business building needs a survey by an accredited inspector before that work starts.

The inspector takes about 25 samples. The old floor tile under the carpet and the joint compound in the old restroom walls are positive; the ceiling tiles, newer drywall and storefront caulk are clear. The landlord and the tenant can now agree on who pays for the removal before the build-out schedule is set.

The goal

The goal is a survey that lets the landlord and the cafe price the removal and the build-out with no surprises.

Process

  1. Week one The inspector walks the unit with the cafe drawings and samples it before lunch.
  2. Within a week A report with a floor plan showing every sample spot and its result.
  3. Next A price for lifting the old tile and cutting out the restroom walls.
  4. Then Hood, plumbing and counter work begin after that removal passes its air test.

Planning right

  • Bring the build-out drawings to the survey. The inspector samples what the plans will touch.
  • Settle in the lease who pays for asbestos removal before the build-out is priced.
  • A survey that lives in the landlord’s file saves the next tenant from paying for one.
  • Neighboring units may share a ceiling space. Ask how the work area will be closed off.

Get a free quoteMore about commercial asbestos abatement

Request a free asbestos removal quote

Tell us what you plan to change, the year the house or building went up if you know it, any test results you already have and the address. We'll get back to you soon with an estimate or any questions we have. Estimates are free and there's no obligation.

Call (425) 738-3615

Call (425) 738-3615